1. Create a VPN server with WireGuard connection protocol
Open the program installation manual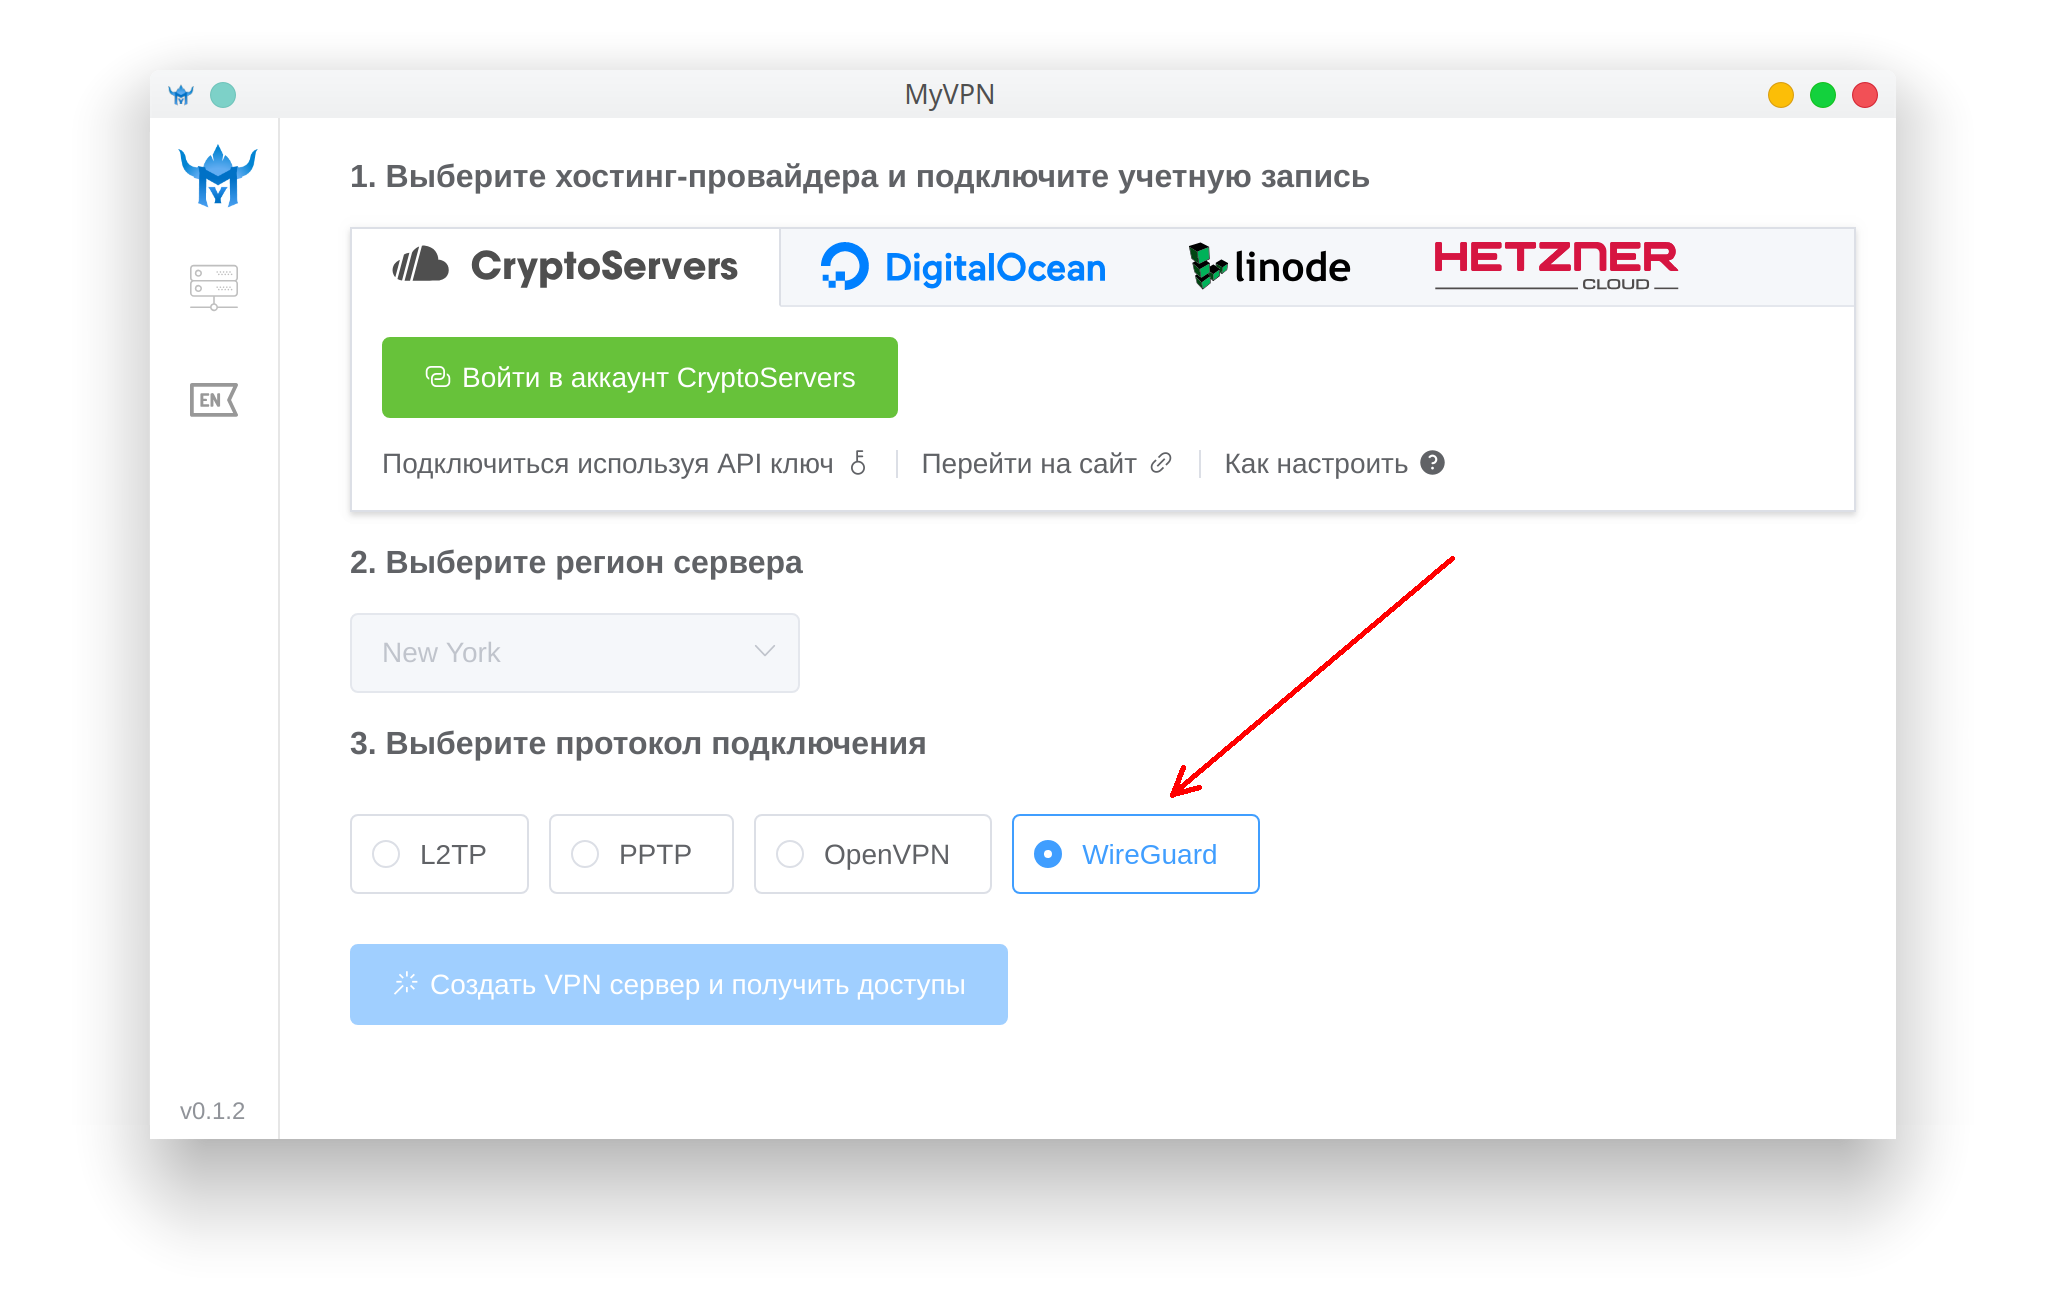
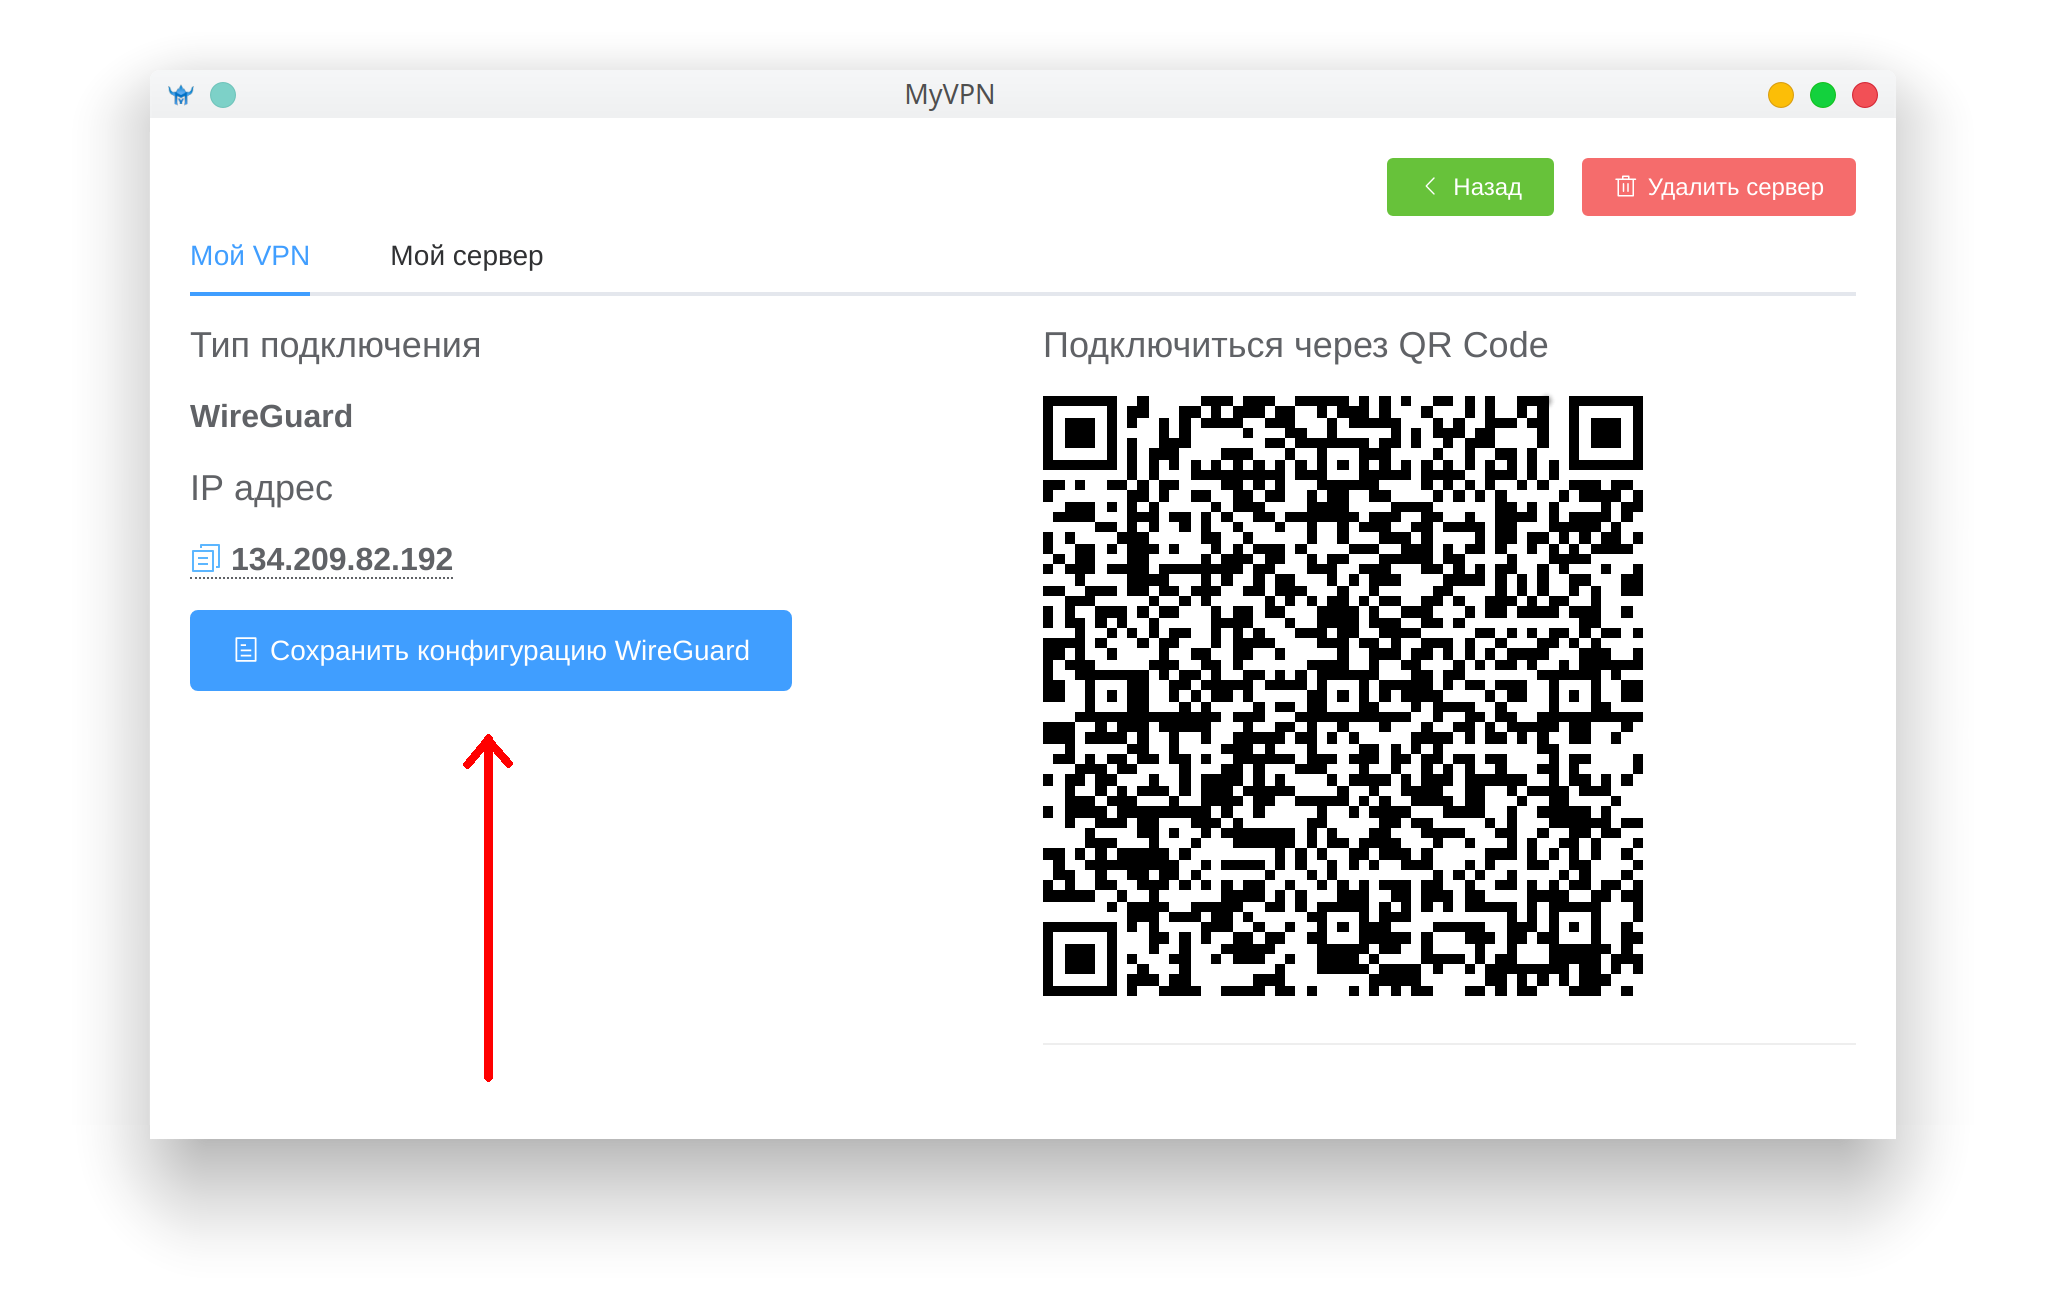
2. Save the WireGuard configuration file from the application
В Ubuntu 20.04 протокол WireGuard включен в ядро системы, поэтому настройка сводится к простому импорту конфигурационного файла.
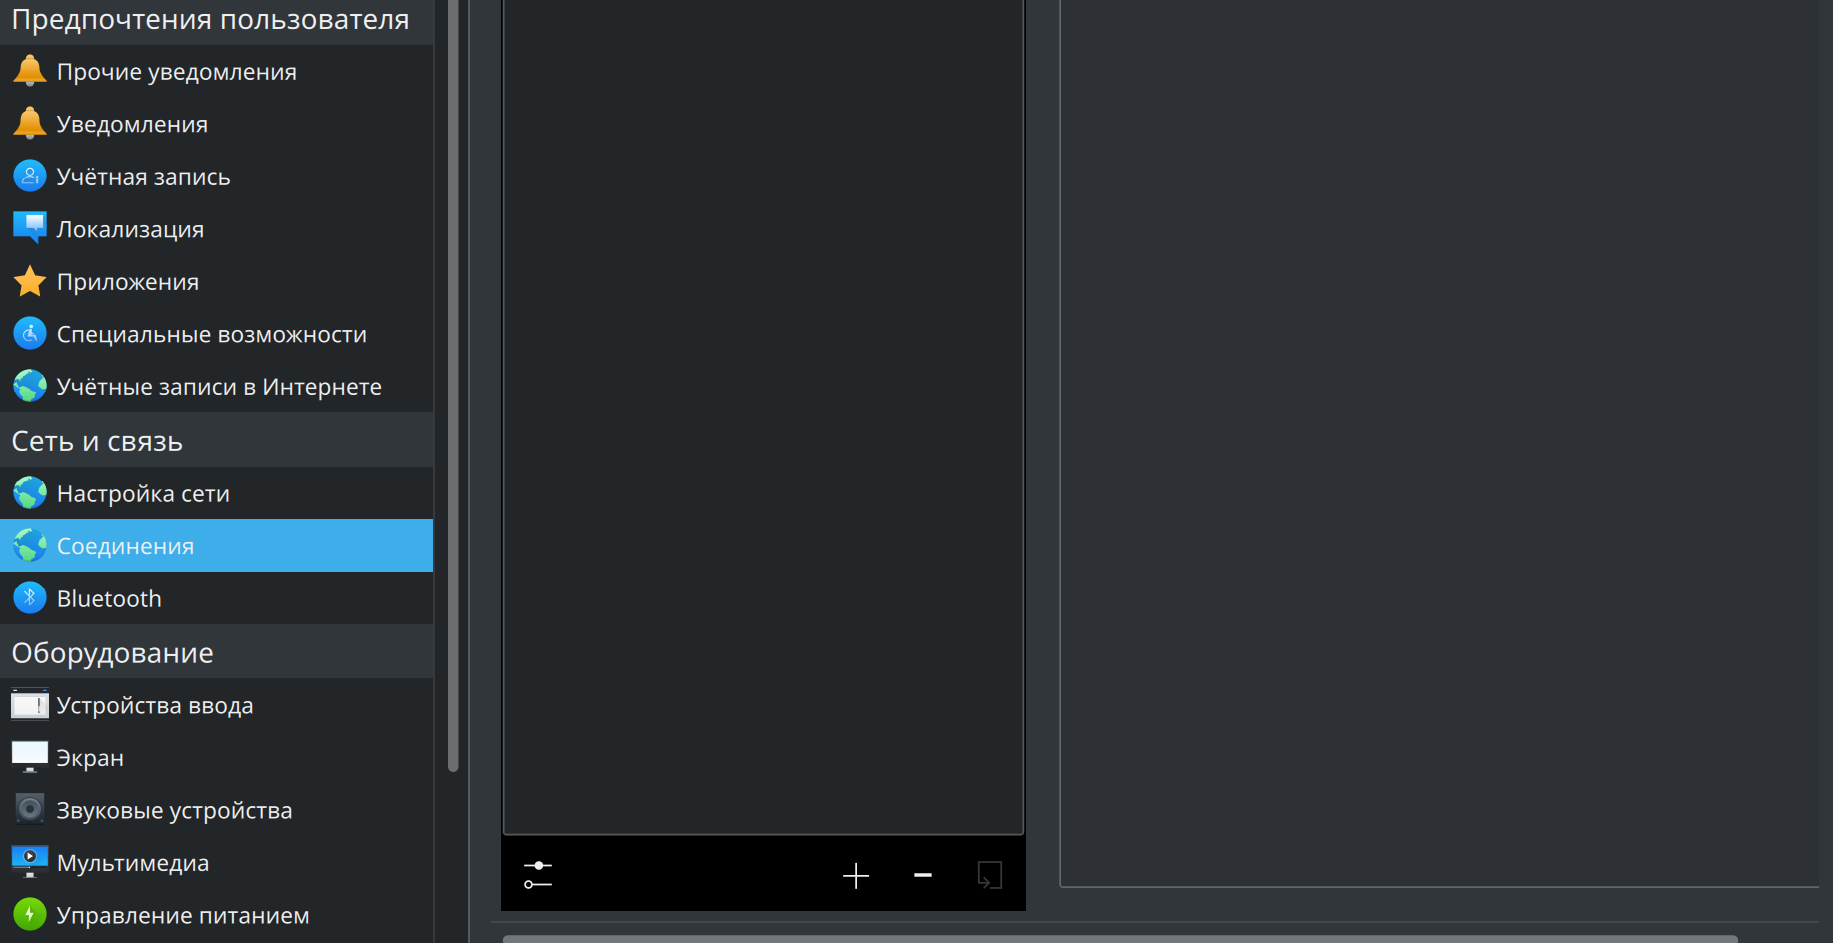
3. Откройте Параметры системы -> Соединения и нажмите: +
4. В открывшемся окне внизу выберите Импорт из файла
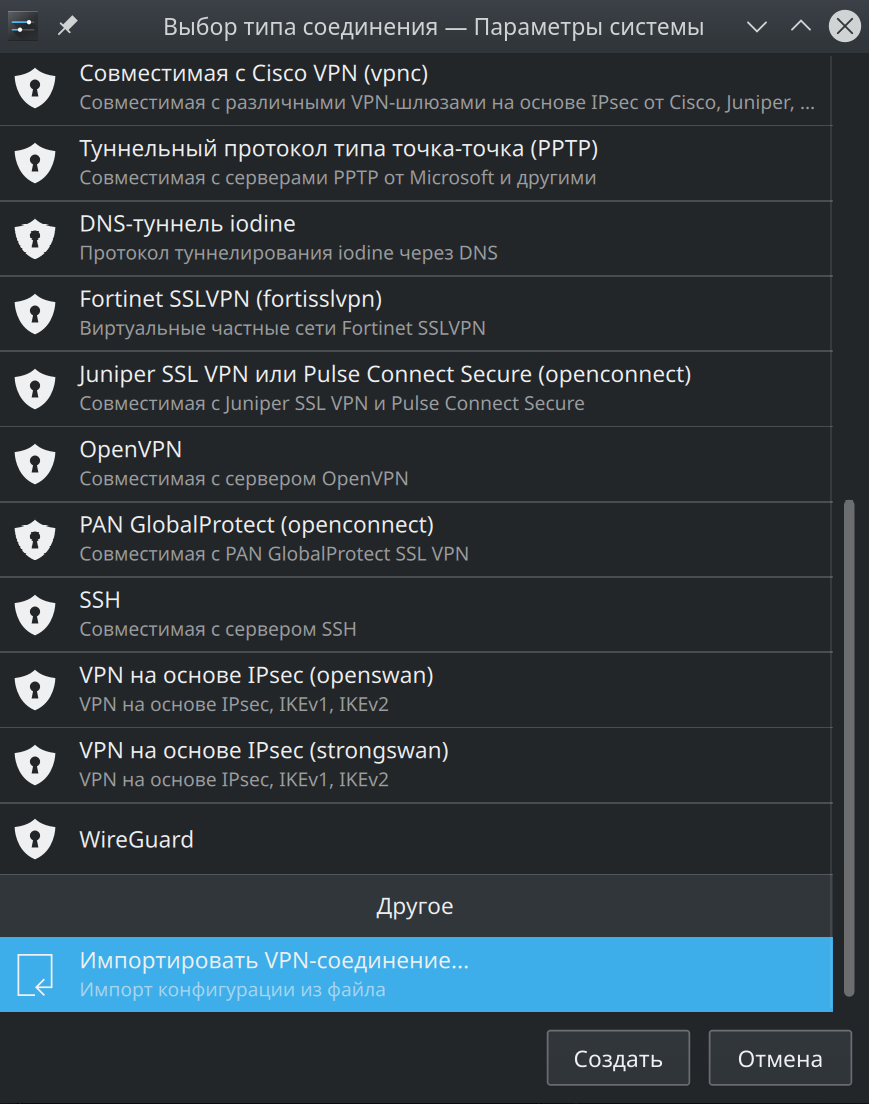
5. В открывшемся окне выбора файла укажите Ваш конфигурационный файл WireGuard. После чего новое соединение wireguard появится в списке доступных подключений.
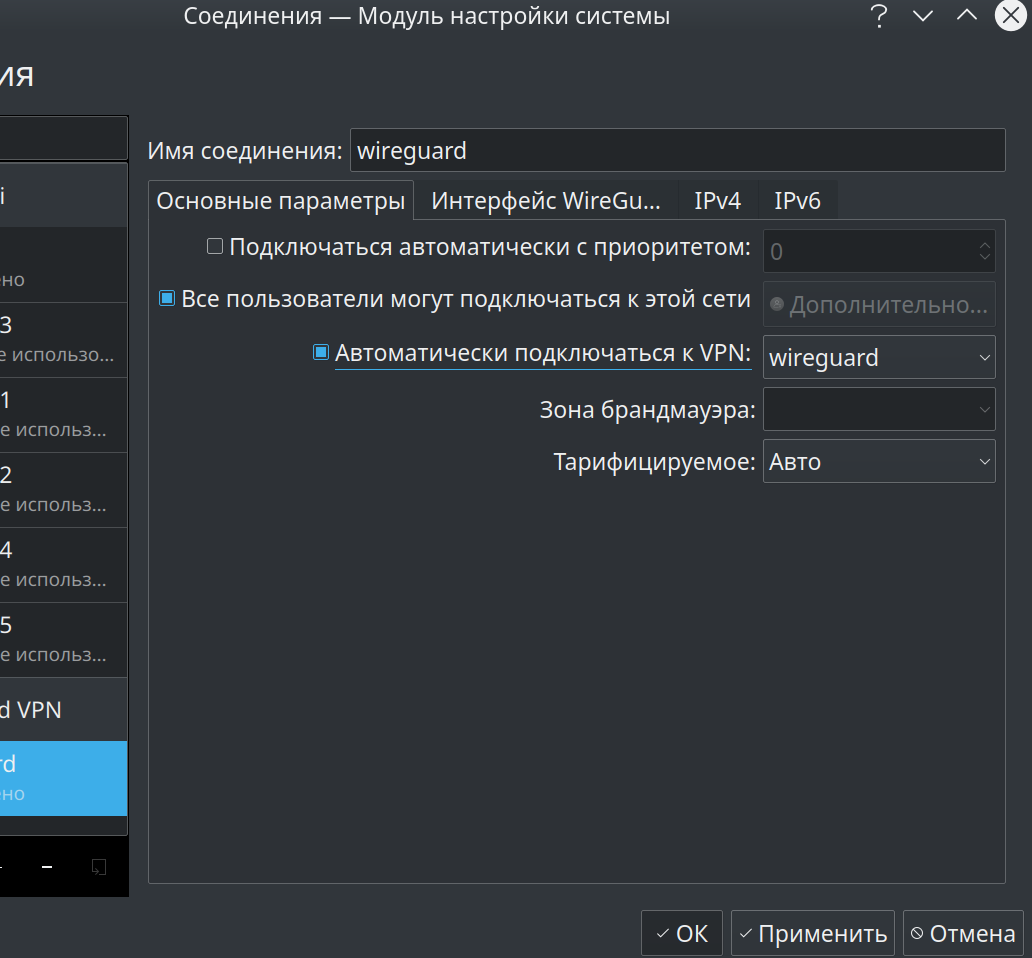
6. В настройках соединение wireguard можете выбрать Автоматически подключаться к VPN если это необходимо
Подключаться и отключаться Вы можете привычным способом как и к любой другой сети нажатием кнопок Подключить и Отключить. Удалить соединение Вы можете так же как и любое другое.